Getting Started with HostGator: Everything You Need to Know
Introduction
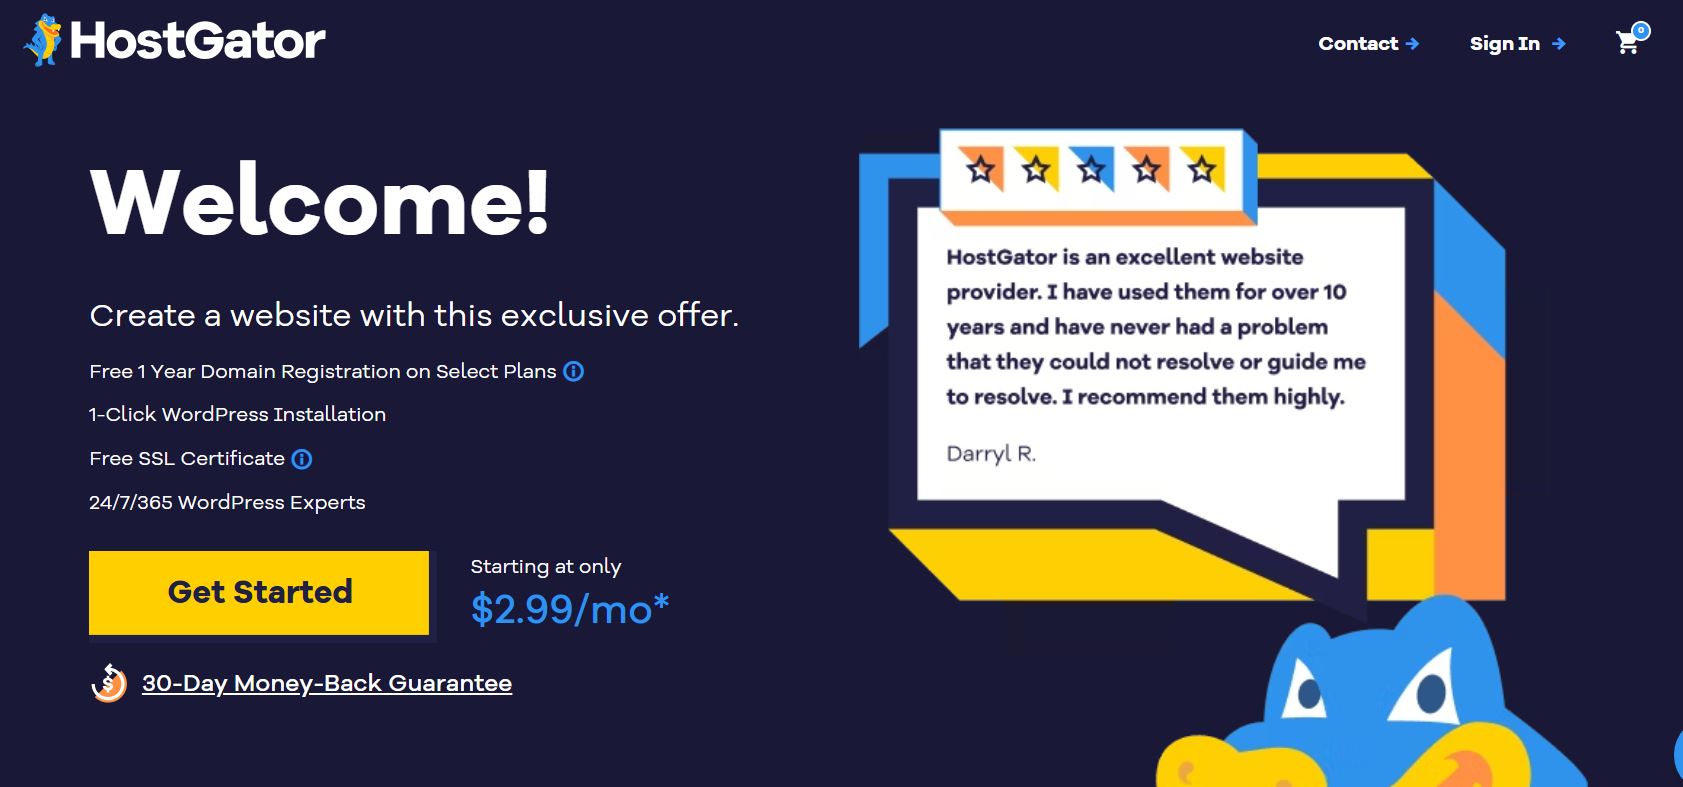
If you’re thinking about starting a website, blog, or online store, choosing the right web hosting provider is a critical first step. One of the most recognized names in the industry is HostGator. Known for its affordability, reliability, and beginner-friendly tools, HostGator makes it easy for anyone to launch a website—no technical experience needed.
HostGator offers a wide range of hosting options, from shared hosting to WordPress, VPS, and even dedicated servers. This flexibility makes it a go-to choice for bloggers, entrepreneurs, and small business owners alike. Whether you’re just getting started or looking to grow your online presence, HostGator has a plan that fits your needs and budget.
What makes HostGator stand out is its simple setup process, free domain with most plans, one-click WordPress installation, and strong customer support. It’s a solid option for anyone who wants a dependable hosting service without breaking the bank.
In this guide, you’ll learn everything you need to know about getting started with HostGator. From choosing the right hosting plan to setting up your website, we’ll walk you through it step by step. If you’re ready to take the first step, you can check out their latest plans and get started here: Get Started with HostGator.
What is HostGator?
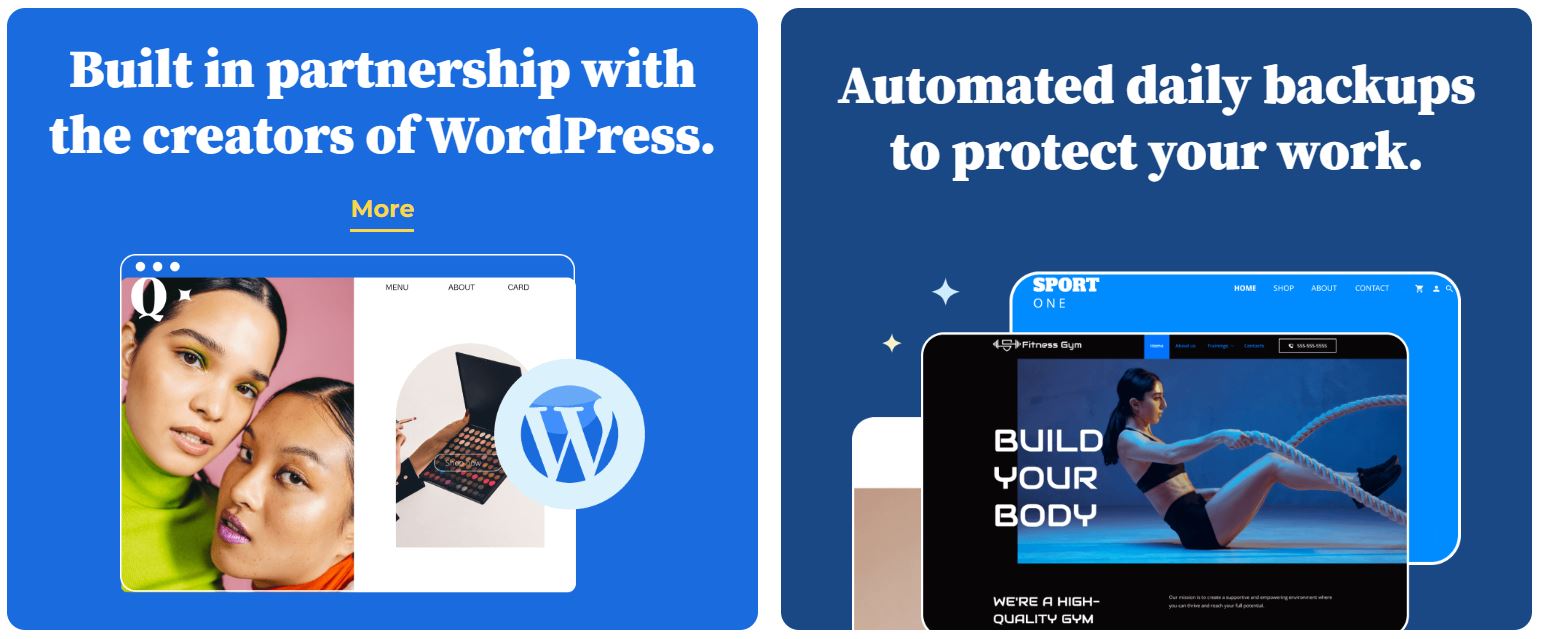
HostGator is a well-established web hosting company founded in 2002. It quickly became one of the most trusted names in the hosting industry. Today, it powers millions of websites around the world. HostGator is known for offering reliable hosting at competitive prices.
The company provides a variety of hosting services. These include Shared Hosting, VPS (Virtual Private Server) Hosting, Dedicated Server Hosting, and WordPress Hosting. Each type of hosting serves a different need. Shared hosting is ideal for beginners and small websites. VPS and Dedicated Hosting offer more power and control for growing businesses. WordPress hosting is optimized for fast and secure WordPress websites.
HostGator is a great choice for bloggers, small business owners, and startups. It’s also a smart option for freelancers and developers who manage multiple sites. The platform is easy to use and flexible enough to grow with your business.
Whether you’re launching your first blog or moving your business online, HostGator has a solution. Their hosting plans come with useful features like free domain registration, a website builder, and 24/7 support. If you’re ready to explore their hosting options, visit HostGator here to get started.
Choosing the Right HostGator Plan
HostGator offers several hosting plans to fit different needs and budgets. Whether you’re just starting or running a growing business, there’s a plan for you. Understanding the differences between the plans will help you make the right choice.
Shared Hosting is the most popular and affordable option. It’s perfect for beginners, bloggers, and small websites. With shared hosting, your website shares server space with others. This setup keeps costs low while still giving you the tools to build and manage a site. If you’re just starting out, this is a smart and budget-friendly option. You can view the shared hosting plans here.
VPS Hosting offers more power and flexibility. You still share a server, but you get dedicated resources and more control. VPS is great for medium-sized businesses, developers, and sites with higher traffic. If you plan to scale or run custom software, VPS hosting gives you the performance you need.
Dedicated Hosting gives you an entire server for yourself. This means maximum speed, security, and customization. It’s best for large websites, high-traffic eCommerce stores, or businesses with specific server needs. Dedicated hosting is the most expensive option but offers the highest level of performance.
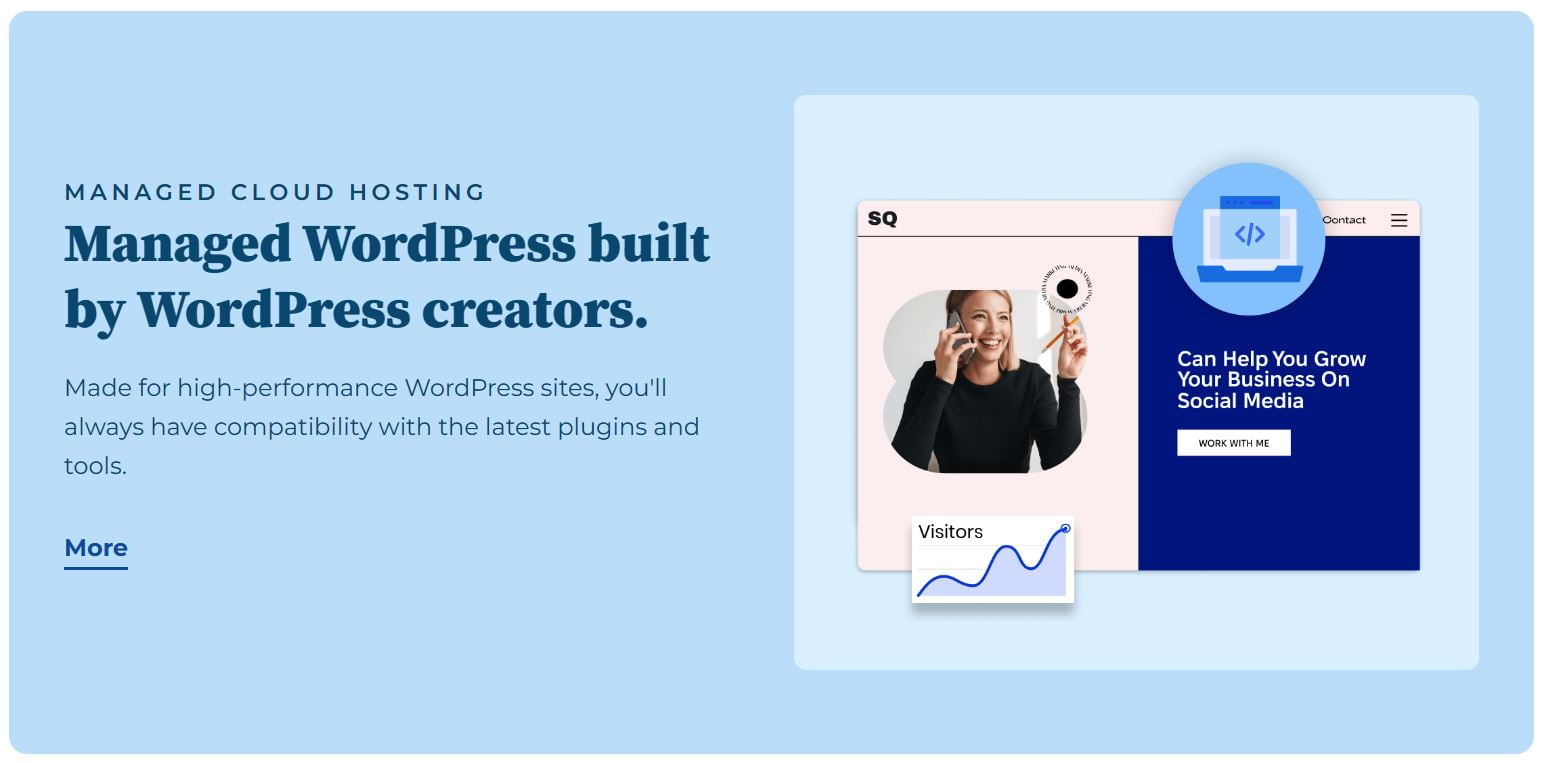
WordPress Hosting is another option designed specifically for WordPress users. It includes features like automatic updates, faster loading times, and built-in security. If your site runs on WordPress, this plan makes setup and maintenance easier.
For most beginners, Shared Hosting is the best place to start. It’s simple, affordable, and includes everything you need to launch a site. As your traffic grows, you can easily upgrade to a more advanced plan.
Not sure which plan to choose? HostGator makes it easy to upgrade when needed. Start with the basics and grow at your own pace. You can explore all HostGator plans and pricing right here.
How to Sign Up for HostGator
Signing up for HostGator is quick and beginner-friendly. You can have your website up and running in minutes. Follow this step-by-step guide to get started.
Step 1: Select a Hosting Plan
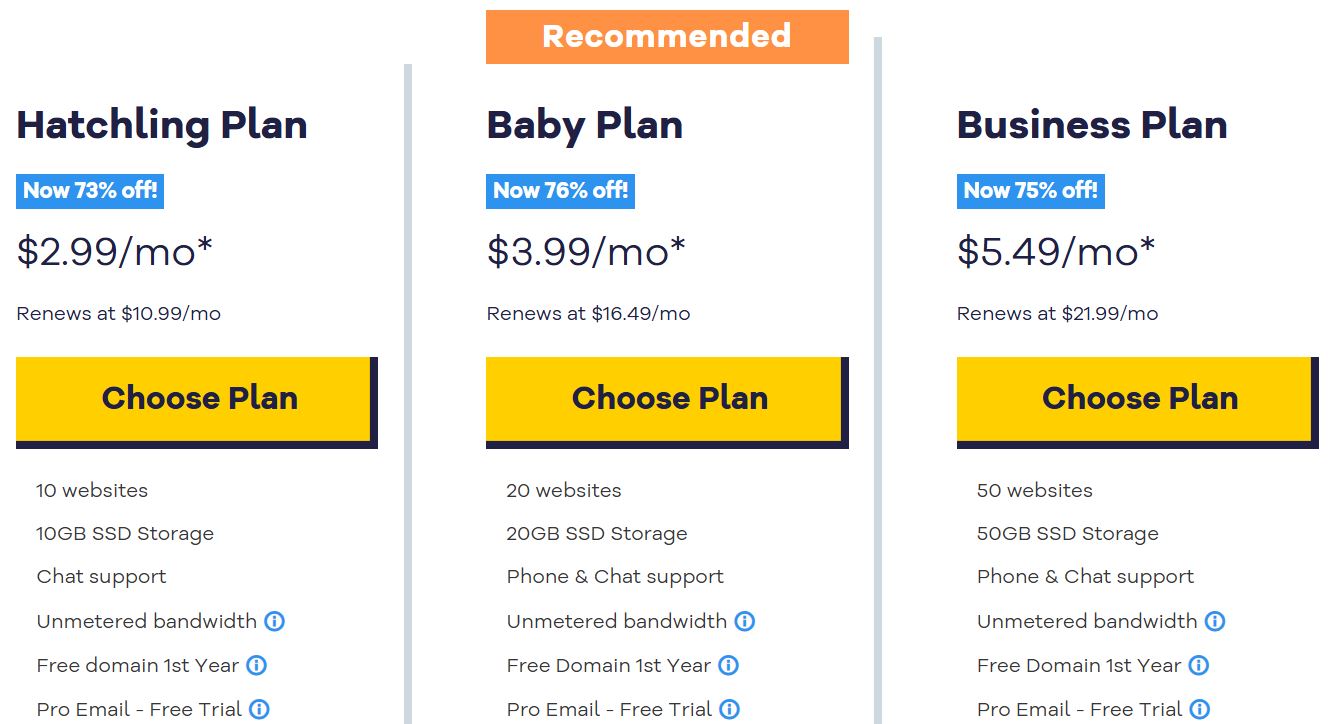
Visit the HostGator website. Choose the hosting type that fits your needs. For most beginners, Shared Hosting is the best option. Click on “Get Started” under the plan you want.
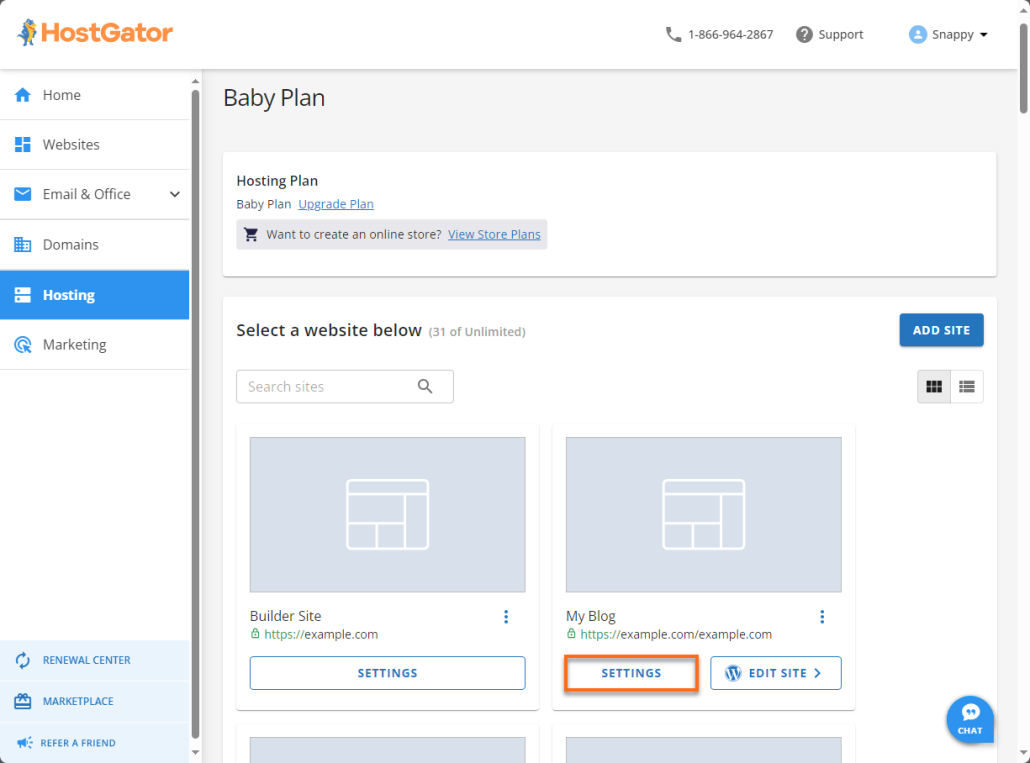
You’ll see three main shared hosting plans: Hatchling, Baby, and Business.
- Hatchling Plan allows a single website and is great for personal blogs or small sites.
- Baby Plan supports unlimited domains, ideal for growing projects.
- Business Plan adds features like a dedicated IP and SEO tools.
Pick the one that fits your goals.
Step 2: Register Your Domain
You can register a new domain during signup or use a domain you already own. HostGator offers free domain registration for the first year with most plans. If you already have a domain, just choose “I already own this domain” and enter it.
Step 3: Choose Your Billing Cycle
Next, select your billing cycle. HostGator offers several options—monthly, 6 months, 12 months, 24 months, or 36 months. Longer terms usually come with bigger discounts. If you’re serious about your site, the 12-month or 36-month plans offer the best value.
Step 4: Add Extras (Optional)
HostGator gives you a few optional add-ons. These include:
- SiteLock Security (for extra protection)
- Professional Email from Google Workspace
- CodeGuard Backups
- SEO Tools
- SSL Certificate (Free SSL is included with all plans)
Here’s a tip: You can skip most extras in the beginning. The free SSL is enough for most websites. You can always add other features later as your site grows.
Step 5: Create Your Account and Checkout
Enter your email, set up a password, and choose a security PIN. Then add your billing info and complete the purchase.
Once you check out, you’ll receive a confirmation email with login details for your HostGator dashboard.
From there, you can start building your website right away using WordPress or the HostGator website builder.
Ready to sign up and get started? Click here to view the latest deals and launch your site today.
Setting Up Your Website
After signing up, it’s time to set up your website on HostGator. The process is simple, even if you’re new to building websites. Here’s how to get started.
Step 1: Access Your HostGator Dashboard
Once you complete your purchase, HostGator sends you a welcome email. This email includes login details for your customer portal. Log in and go to your cPanel, the main control panel for your hosting account.
From cPanel, you can manage everything—files, domains, email, databases, and software installs.
Step 2: Install WordPress or Another CMS
The easiest way to build a site on HostGator is to use WordPress. You can install it in just a few clicks using the QuickInstall tool.
In your cPanel, scroll to the “Software” section. Click on QuickInstall. Then select WordPress from the list.
Click “Install WordPress”, choose your domain, and fill in your site details. Set your admin username, email, and password.
Click Install and wait a few seconds. Your WordPress site will be live and ready to customize.
If you prefer another CMS, QuickInstall also supports options like Joomla, Drupal, and Magento.
Step 3: Set Up Your Website Structure
Log in to your WordPress dashboard using the link provided after installation.
Start by choosing a theme that fits your style or brand. You can install free themes from the WordPress library or upload a premium one.
Next, create essential pages like:
- Home
- About
- Services or Blog
- Contact
Use the WordPress menu editor to organize your site’s navigation. Add a logo, customize colors, and set your homepage.
Step 4: Connect Your Domain (If You Bought It Elsewhere)
If you didn’t buy your domain through HostGator, you’ll need to point it to your hosting account.
Log in to your domain registrar (like GoDaddy or Namecheap). Go to your domain settings and update the nameservers to HostGator’s:
- ns1.hostgator.com
- ns2.hostgator.com
Save the changes. It may take a few hours for the update to take effect.
Once your domain is connected, your website will be live and fully functional.
That’s it. You now have a working site hosted on HostGator. If you haven’t signed up yet, you can start building today by visiting HostGator here.
Essential Settings and Tools
Once your website is live on HostGator, it’s important to configure a few key settings. These tools help keep your site secure, professional, and easy to manage.
Enable Your Free SSL Certificate
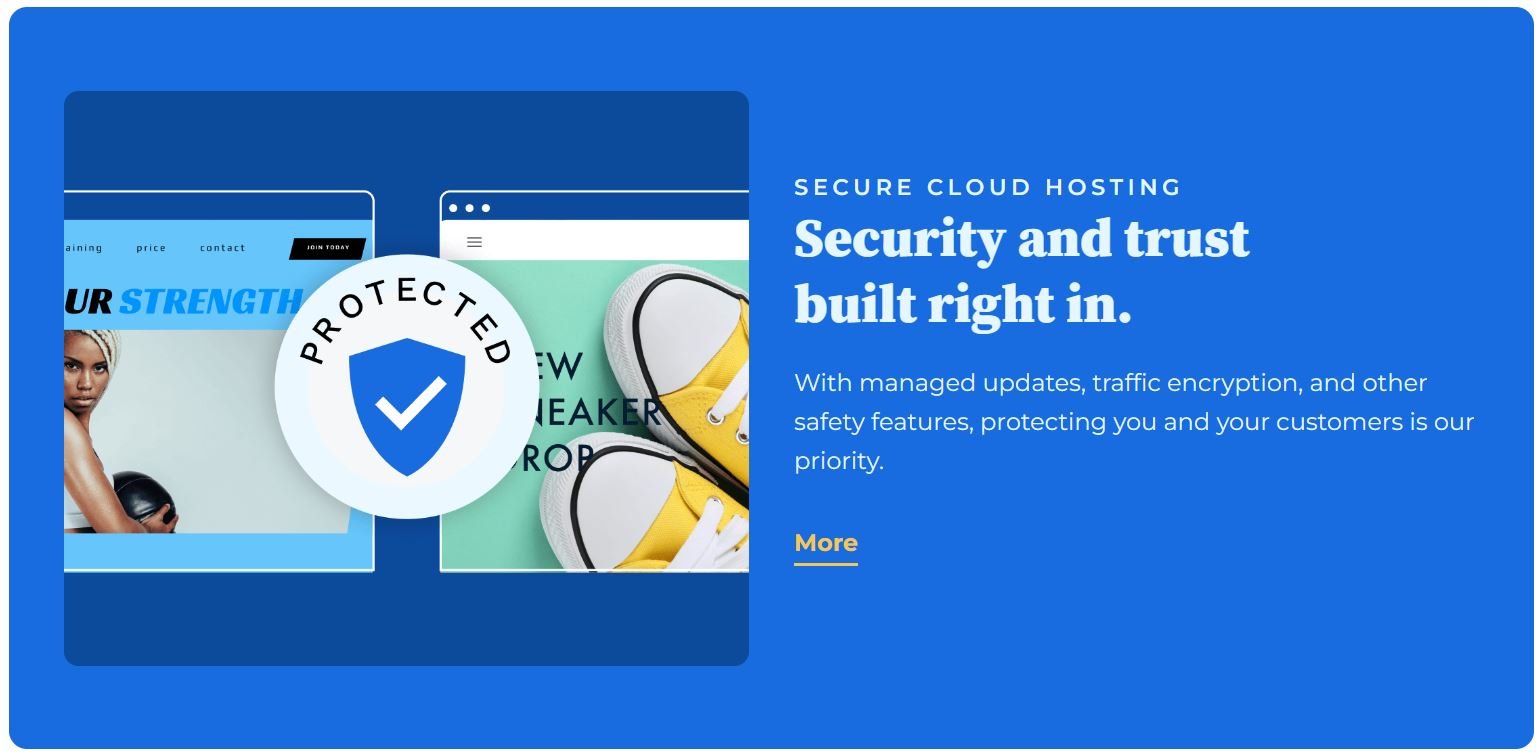
Every HostGator plan includes a free SSL certificate. This secures your site with HTTPS and protects user data.
To activate it, log into your cPanel. Scroll to the “Security” section and click “SSL/TLS Status.”
Select your domain, then click “Run AutoSSL.” HostGator will install the certificate for you. This usually takes a few minutes.
Once complete, your website will show a padlock icon in the address bar—building trust with your visitors.
Set Up a Business Email
Creating a custom email like yourname@yourdomain.com looks more professional.
In cPanel, go to the “Email Accounts” section. Click “Create.”
Enter a username, choose your domain, and set a password. You now have a business email address hosted by HostGator.
You can access it via Webmail, or connect it to Gmail or Outlook.
Learn the Basics: File Manager and phpMyAdmin
HostGator gives you full access to your site files and databases.
- File Manager: Found in cPanel, this tool lets you upload, edit, and manage files directly on your server. It works like a file browser and is useful for editing code, uploading themes, or managing media.
- phpMyAdmin: This is where you manage your site’s database. You can view tables, run SQL commands, and back up or restore your database. It’s especially useful if you’re working with WordPress or custom scripts.
Backups and Security Options
Keeping regular backups is critical. HostGator offers CodeGuard as an optional add-on for automated backups.
If you didn’t purchase CodeGuard, you can still create manual backups through cPanel. Go to the “Backup” section and download a full site backup anytime.
For security, consider enabling SiteLock. It scans your website for malware and protects against threats. It’s an optional extra, but helpful for business or eCommerce sites.
You should also:
- Use strong passwords
- Update WordPress plugins and themes regularly
- Limit login attempts
HostGator provides the tools to keep your site safe and professional.
Ready to launch your own secure and optimized site? Get started with HostGator here.
HostGator Support and Resources
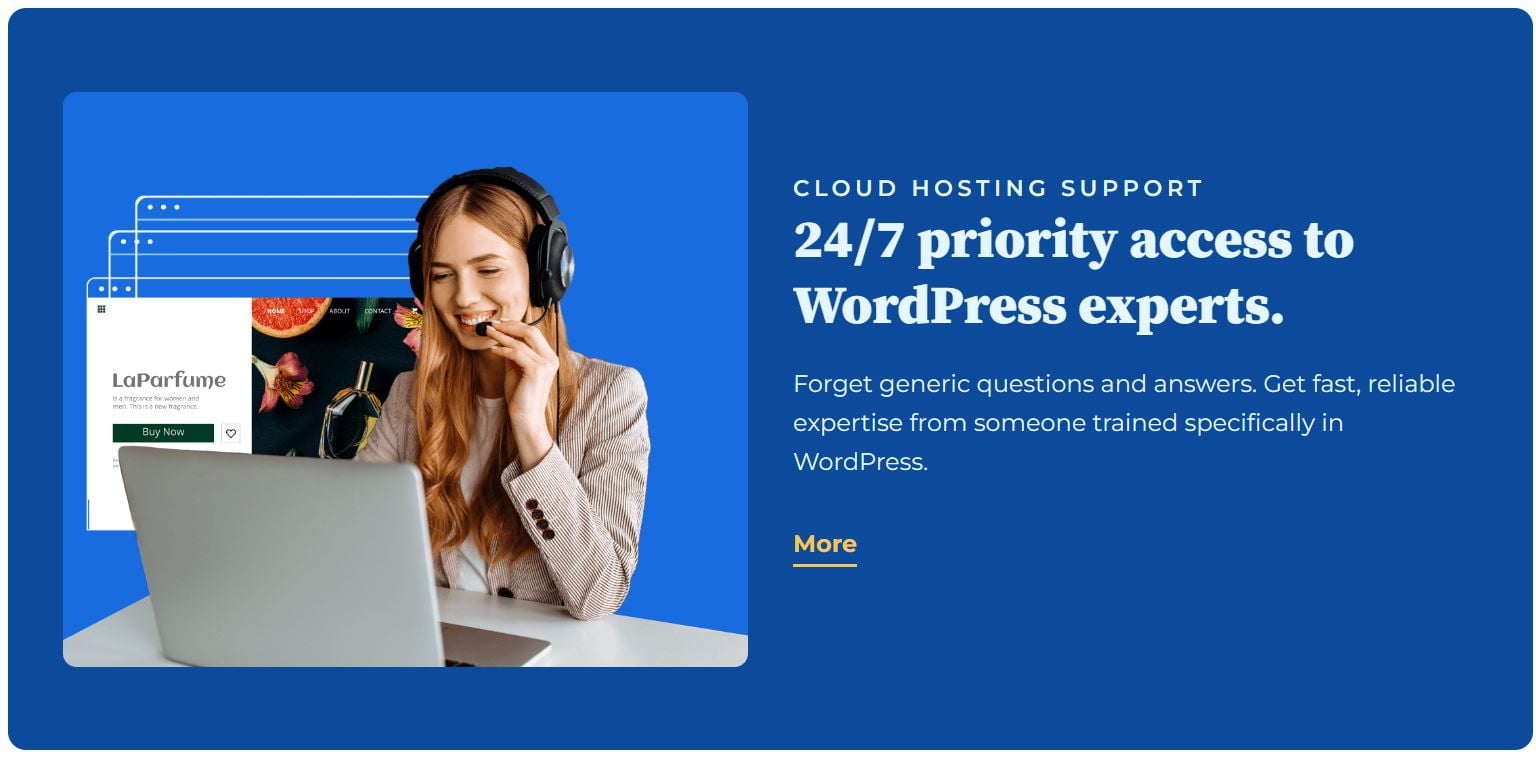
When you host your website with HostGator, you’re never alone. One of the biggest reasons users choose HostGator is its reliable support system. Whether you’re a beginner or an experienced site owner, help is always available.
24/7 Support Access
HostGator offers 24/7 customer support. You can reach them anytime through live chat, phone, or the support ticket system.
Live chat is the fastest option. It connects you with a real person within minutes. If your issue is more technical, support tickets are a better route. Phone support is also available if you prefer speaking directly to someone.
This around-the-clock support makes it easy to solve issues without delay, no matter your time zone.
Extensive Knowledge Base
HostGator has a massive knowledge base filled with helpful guides and tutorials. You can search topics like:
- How to install WordPress
- How to connect a domain
- How to set up email
- Troubleshooting errors
These step-by-step articles often include screenshots, making them easy to follow—even if you’re new to hosting. If you prefer solving problems yourself, this is a great place to start.
Forums and Community Support
HostGator also offers community support through user forums and social media channels. While not as fast as live chat, these platforms let you connect with other HostGator users. You can ask questions, share tips, or browse existing threads for solutions.
It’s helpful to learn from people who’ve faced the same challenges.
In short, HostGator provides strong customer support and plenty of learning resources. You’re backed by a full team and a large community.
If you’re ready to get hosting with solid support, start with HostGator here.
Pros and Cons of HostGator
Before choosing HostGator, it’s important to understand both the benefits and the drawbacks. This helps you decide if it’s the right hosting provider for your needs.
Pros of HostGator
Affordable pricing
HostGator offers low starting prices, especially for shared hosting. It’s a great option if you’re on a budget or launching your first site. You can get started here with some of their best deals.
Easy to use
The control panel (cPanel) is user-friendly. Even beginners can install WordPress, set up emails, and manage files without any confusion.
Good uptime
HostGator promises 99.9% uptime, and they mostly deliver. This means your website stays online and available to visitors.
24/7 customer support
Support is available anytime through live chat, phone, and email. This is helpful if your site runs into issues outside normal business hours.
Cons of HostGator
Upsells during checkout
HostGator adds extras like backups, SiteLock, and SEO tools by default. If you’re not careful, your bill can increase quickly. You can uncheck these options if you don’t need them right away.
High renewal prices
While the first term is cheap, renewal rates are higher. This is common in the hosting industry, but it’s worth noting.
Occasional speed issues
Shared hosting plans may slow down during high traffic times. If speed is a priority, consider VPS or Dedicated plans.
Conclusion
HostGator is a solid choice for beginners, bloggers, and small business owners. It offers great value, strong support, and useful features. Just keep an eye on the extras and renewal costs.
If you’re ready to give HostGator a try, you can sign up here.
HostGator Tips for Beginners
If you’re new to HostGator, setting up your website can be easy with the right tips. Avoid common mistakes and optimize your site for performance by following these simple steps.
Avoiding Common Setup Mistakes
A few common mistakes can slow down your setup or affect your website’s performance. Here are some to watch out for:
- Skipping SSL Activation: Always enable your free SSL certificate to secure your site. It builds trust with visitors and improves your SEO ranking.
- Choosing the Wrong Hosting Plan: Ensure your plan matches your website’s needs. If you’re just starting, a shared hosting plan is often enough. If you expect high traffic, consider upgrading to a VPS or Dedicated plan.
- Ignoring Backups: Set up regular backups to protect your site. You can use HostGator’s CodeGuard or manually back up your site via cPanel.
Choosing the Right Plugins (for WordPress Users)
WordPress makes it easy to extend your site with plugins. However, using too many plugins can slow down your website. Here are some essential plugins for WordPress users:
- Yoast SEO: Helps you optimize your content for search engines. It guides you through on-page SEO to boost your rankings.
- WP Super Cache: Speeds up your website by caching pages and posts. This reduces the time it takes to load your site.
- Wordfence Security: Protects your site from malware and hacking attempts, keeping your data safe.
- Smush Image Compression: Compresses images without losing quality, which speeds up your site.
By choosing quality plugins, you can improve your site’s functionality and performance.
Speed Optimization Basics
A fast-loading website is crucial for both user experience and SEO. Here are a few simple steps to improve your site speed on HostGator:
- Use Caching: Caching stores a copy of your website so it loads faster for returning visitors. You can install plugins like WP Super Cache or W3 Total Cache.
- Compress Your Images: Large images slow down your site. Use tools like Smush or TinyPNG to compress images without sacrificing quality.
- Optimize Your Database: Regularly clean up your WordPress database to remove unnecessary data. Plugins like WP-Optimize can automate this process.
By following these steps, you can avoid common issues and ensure your site is fast and secure.
Ready to get started with HostGator? You can begin building your website by signing up here.
Conclusion
To recap, getting started with HostGator is simple and straightforward. Here are the key steps:
- Choose the right hosting plan based on your needs. Whether you’re a beginner or a business owner, there’s a plan that fits.
- Sign up for HostGator and register your domain, selecting the right billing cycle and any extras you might need.
- Set up your website using the easy-to-use cPanel, install WordPress or another CMS, and structure your site.
- Configure essential settings like SSL, backups, and email to keep your site secure and professional.
- Optimize for performance by choosing the right plugins and implementing speed optimization practices.
If you’re a beginner looking for reliable, affordable hosting with great support, HostGator is a solid choice. It’s easy to use, offers a variety of plans, and provides strong customer service. However, if you’re expecting heavy traffic or need top-tier performance, you may want to consider upgrading to VPS or Dedicated hosting.
Are you ready to get started? Try HostGator today and take advantage of their great discounts. Explore their hosting plans here and begin your website journey today!
HostGator FAQs for New Users
If you’re new to HostGator, you likely have some questions. Here are answers to some of the most frequently asked questions to help you get started.
1. What is HostGator?
HostGator is a popular web hosting provider offering various hosting plans, including shared, VPS, dedicated, and WordPress hosting. It’s known for its affordability, ease of use, and strong customer support. You can sign up here to start hosting with them today.
2. How do I choose the right hosting plan?
Choosing the right plan depends on your needs. For beginners, shared hosting is often enough. If you need more control and resources, VPS or dedicated hosting may be a better option. Consider your website’s traffic and growth potential when making this decision.
3. Can I migrate my website to HostGator?
Yes! HostGator offers free website migration for new customers. If you’re switching from another host, their team will help you move your website seamlessly to HostGator.
4. How do I install WordPress on HostGator?
Installing WordPress is easy with HostGator’s QuickInstall feature. Simply log into your cPanel, click on the WordPress icon, and follow the instructions to install WordPress on your domain.
5. What is cPanel?
cPanel is a control panel that lets you manage your website, domain, and hosting settings. From cPanel, you can install software, create email accounts, manage databases, and much more. It’s designed to be user-friendly, even for beginners.
6. What support does HostGator offer?
HostGator offers 24/7 support through live chat, phone, and support tickets. Whether you need help with setting up your site or troubleshooting issues, their team is available to assist you around the clock.
7. How do I secure my website with SSL?
HostGator provides a free SSL certificate with most of its hosting plans. You can enable it through the cPanel to ensure your site is secure and encrypted, which also helps improve SEO rankings.
8. Can I upgrade my hosting plan later?
Yes! As your website grows, you can easily upgrade your hosting plan. HostGator offers the flexibility to move from shared hosting to VPS or dedicated hosting as your needs change.
9. What is the renewal price for HostGator hosting?
HostGator’s initial pricing is affordable, but keep in mind that renewal rates are higher after the first term. Be sure to check the renewal prices before signing up.
10. Are there any hidden fees?
There are no hidden fees with HostGator. However, you may be prompted to purchase additional services, such as backups, site security, or email accounts, which are optional.
Getting started with HostGator is simple and hassle-free. If you’re ready to begin, sign up here and start your website journey today!